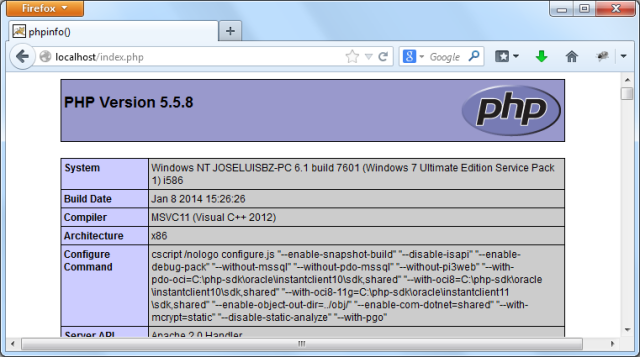
This is my last post about installation of this products (Php, Tomcat and Httpd).
This tutorial was tested using Windows 7 of 32 bits.
The steps that we will describe are:
- PHP – http://windows.php.net/download/
- Preparations for the Php installation.
- Declaring to system the path of PHP.
- Working with the PHP configuration file php.ini.
- TOMCAT – http://tomcat.apache.org/download-70.cgi
- Java previous changes.
- Preparations for the Tomcat installation.
- Declaring to system the path of TOMCAT.
- Optional changes to the Tomcat’s configuration.
- Enabling File Uploads.
- Changing the Compilers of Tomcat.
- Connecting Tomcat with Httpd.
- Enabling MySQL to Tomcat.
- Operating the Tomcat Service.
- HTTPD – http://www.apachelounge.com/download/
All instalation will be made in the folder:
C:\ServerWeb\
All commands through CLI (CMD console) were in Administrator mode.
In this post I will work using symbolic links with mklink command, in this manner if I need to change the version of some product, only I will need to redirect its link.
Preparations for the Php installation.
I will use the Php 5.5.8 for Win32.
The contents of the .zip file was uncompressed in the folder:
C:\ServerWeb\Php_5.5.8\
But with symbolic link all operations of PHP will be done under the folder:
C:\ServerWeb\Php\
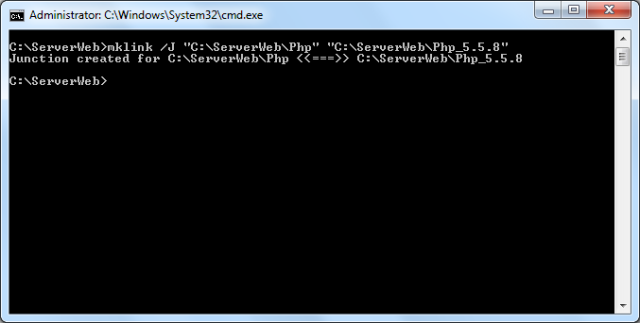
To create the symbolic link for PHP, use the command:
mklink /J "C:\ServerWeb\Php" "C:\ServerWeb\Php_5.5.8"
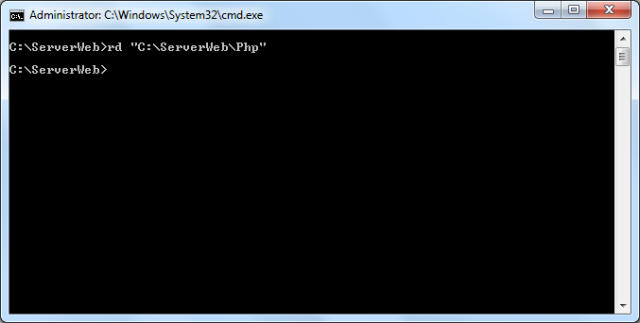
If you want to remove this link, you can use:
rd "C:\ServerWeb\Php"
Declaring to system the path of PHP.
Now, Is needed to access to variables system, with this manner or according to your preference:
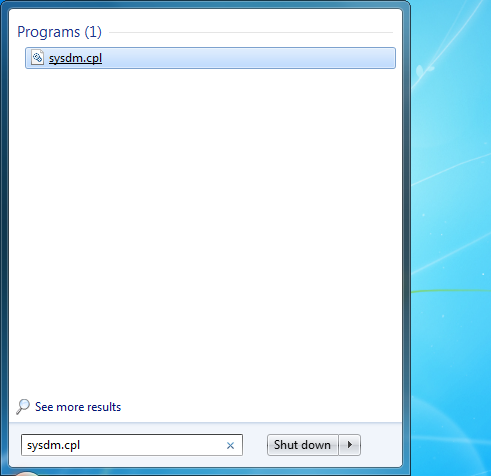
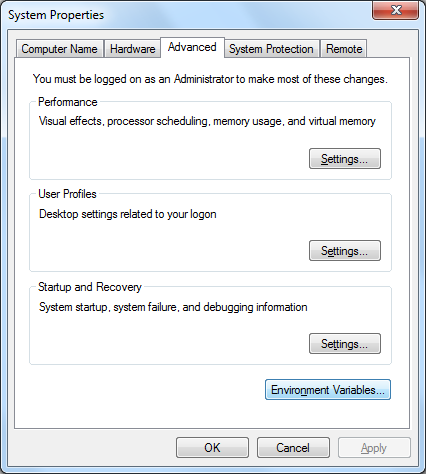
Later, the System Properties dialog box is shown.
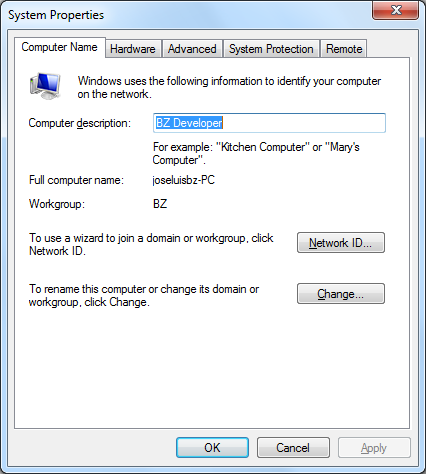
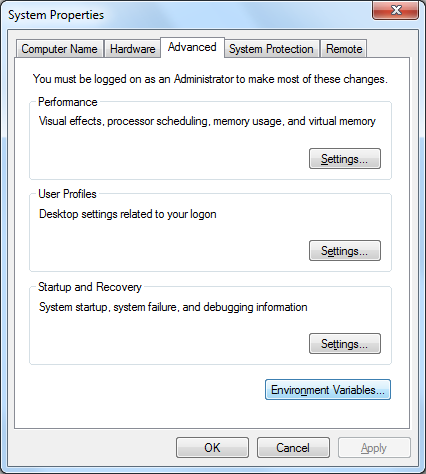
Now, We select Advanced tab and press the Environment Variables button.
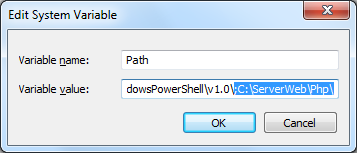
Here we select the Path variable and press the Edit button.
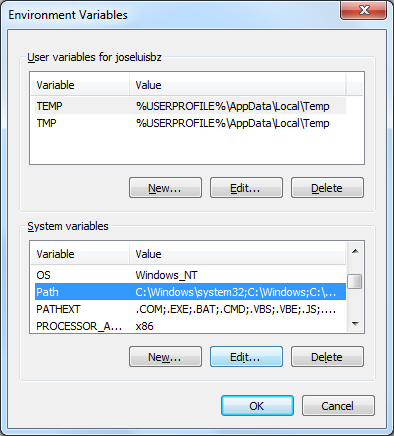
Modify the variable value adding at the end the path of PHP and press the OK button.
C:\ServerWeb\Php\
Working with the PHP configuration file php.ini.
Inside of this folder there are two files containing templates of Php configuration:
php.ini-development and php.ini-production, the difference consist into if the errors will be shown, while the version for developing shows the errors and other information, the version for production does not.
As I’m testing I took php.ini-development and copied:
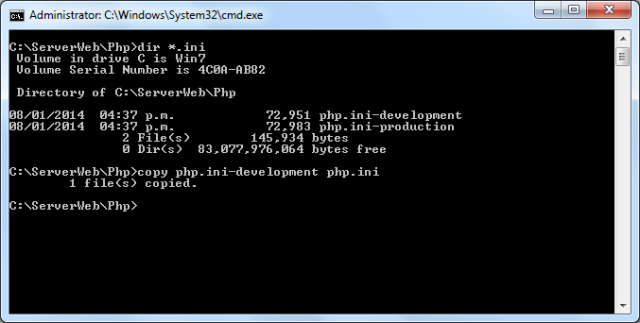
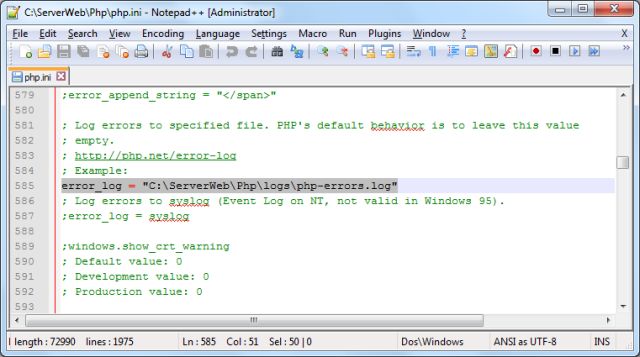
To enable error tracking change the value of the variable error_log.
error_log = "C:\ServerWeb\Php\logs\php-errors.log"
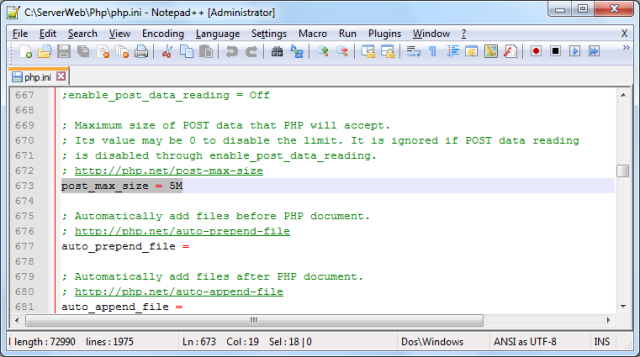
To limit the size of POST data change the value of the variable post_max_size.
post_max_size = 5M
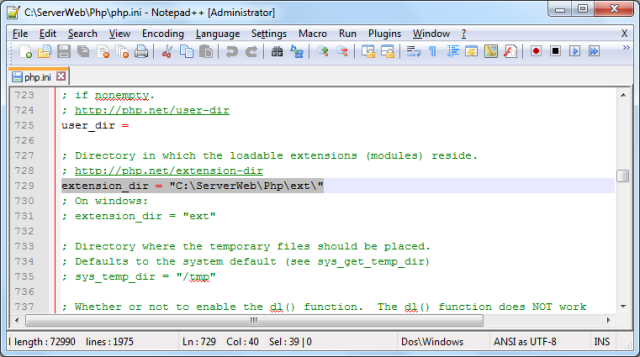
To indicate the folder of extensions change the variable extension_dir.
extension_dir = "C:\ServerWeb\Php\ext\"
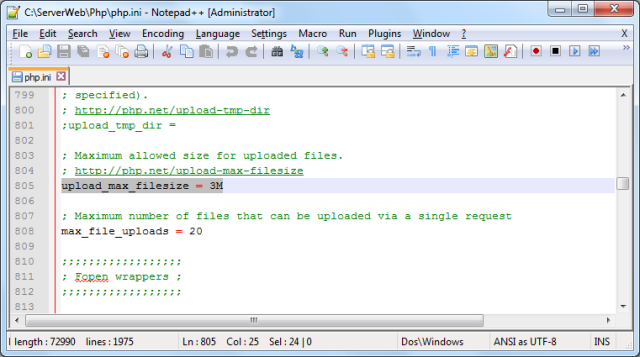
We indicate the maximum file size by changing the variable upload_max_filesize.
upload_max_filesize = 3M
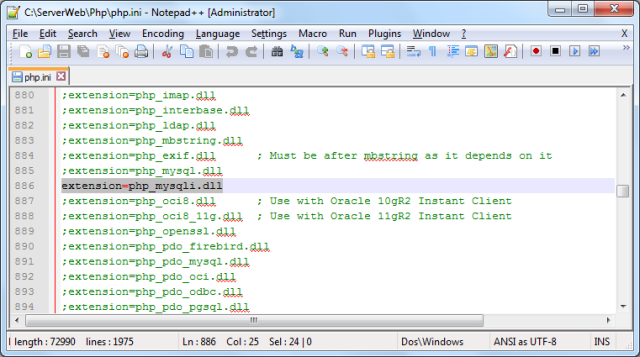
To enable the use of mysqli, uncheck the respective library.
extension=php_mysqli.dll
Like other products, if necessary change the version of java, using symbolic link will be easy.
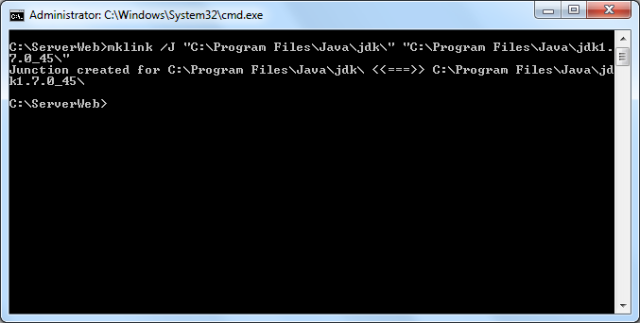
Also create a symbolic link to the directory jdk.
mklink /J "C:\Program Files\Java\jdk\" "C:\Program Files\Java\jdk1.7.0_45\"
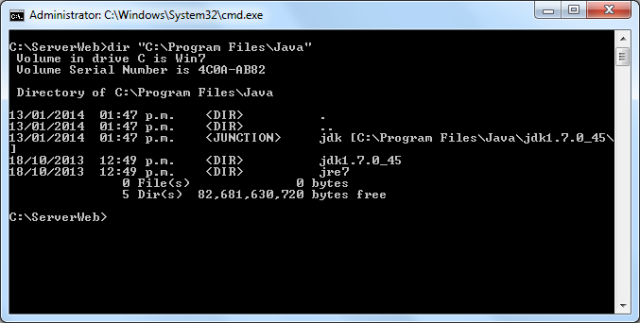
To see as was definitively:
dir "C:\Program Files\Java"
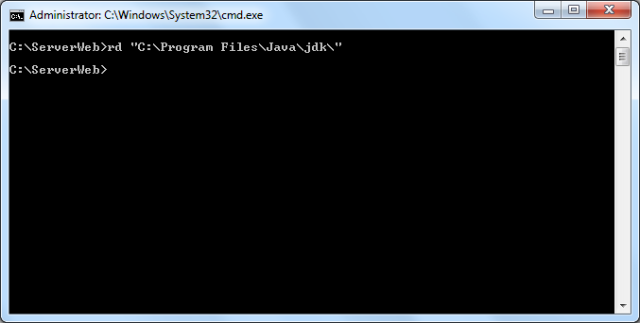
If you want to remove this link, you can use:
rd "C:\Program Files\Java\jdk\"
Preparations for the Tomcat installation.
Then this post will work with Tomcat 7.0.50 for Win32.
The contents of the .zip file was uncompressed in the folder:
C:\ServerWeb\Tomcat_7.0.50\
But with symbolic link all operations of TOMCAT will be done under the folder:
C:\ServerWeb\Tomcat\
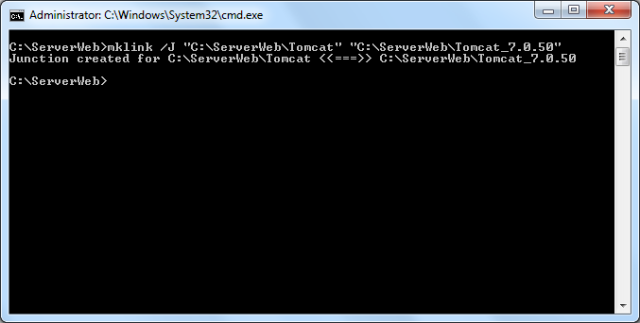
To create the symbolic link for TOMCAT, use the command:
mklink /J "C:\ServerWeb\Tomcat" "C:\ServerWeb\Tomcat_7.0.50"
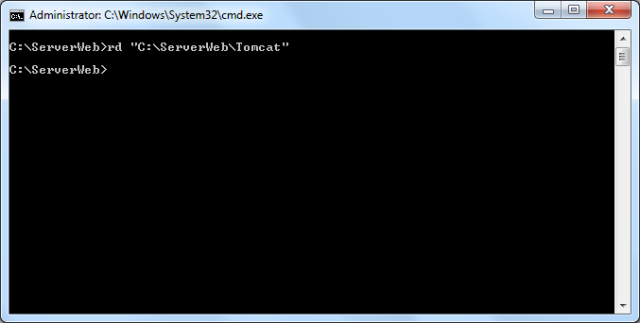
If you want to remove this link, you can use:
rd "C:\ServerWeb\Tomcat"
Declaring to system the path of TOMCAT.
Now, Is needed to access to variables system, with this manner or according to your preference:
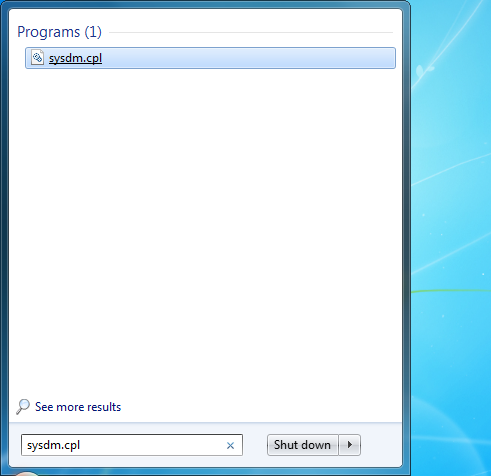
Later, the System Properties dialog box is shown.
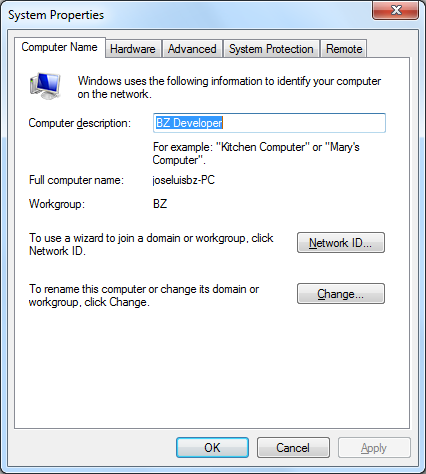
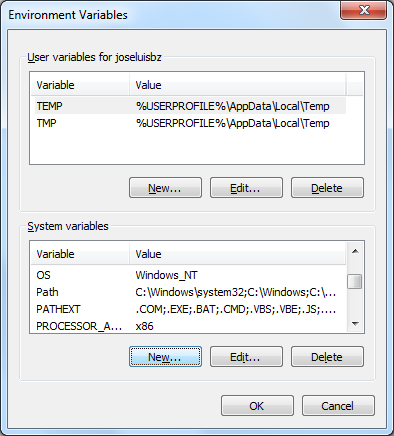
Now, We select Advanced tab and press the Environment Variables button.
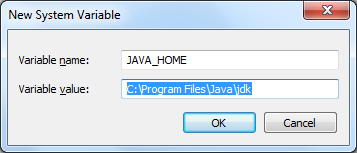
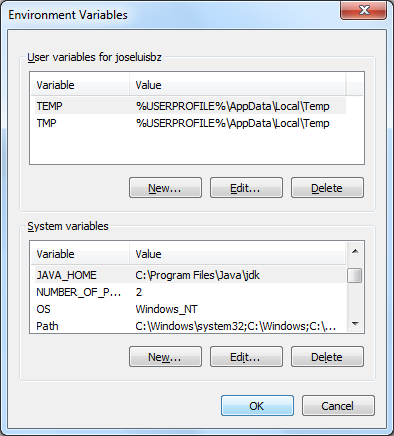
In the New System Variable dialog box, we write the name of the variable with JAVA_HOME and the variable value with the path of Java, in my case:
C:\Program Files\Java\jdk
As you can see the new variable was added.
Optional changes to the Tomcat’s configuration.
Now we will make some changes optional on some files in the bin subdirectory inside of Tomcat folder.
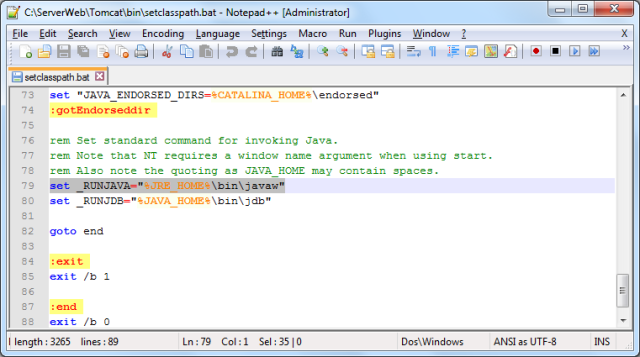
To start Tomcat silently (without console window popup), change in the file named setclasspath.bat, the line set _RUNJAVA.
set _RUNJAVA="%JRE_HOME%\bin\javaw"
Now, lets go to mak changes in the file service.bat in the bin subdirectory.
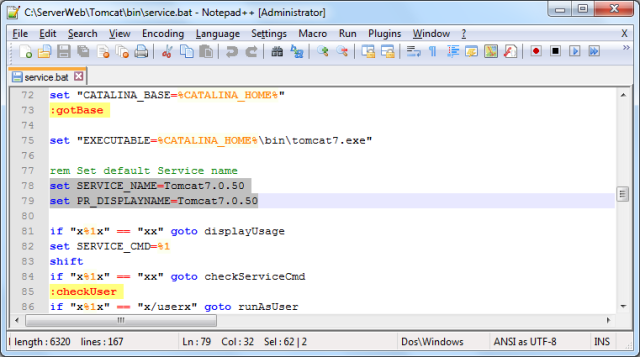
To change the service name and name to be displayed (this not alters of functionality of Tomcat’s service), we make this:
set SERVICE_NAME=Tomcat7.0.50
set PR_DISPLAYNAME=Tomcat7.0.50
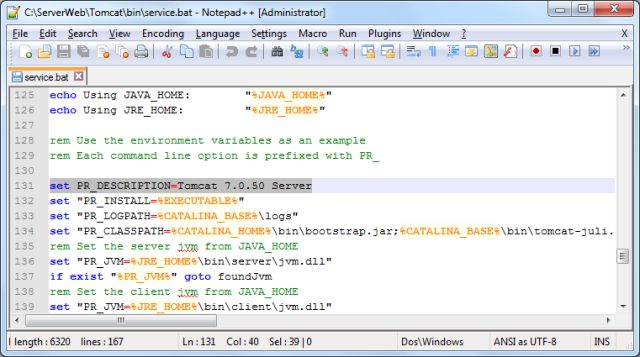
Later let’s go to modify the description of this service:
set PR_DESCRIPTION=Tomcat 7.0.50 Server
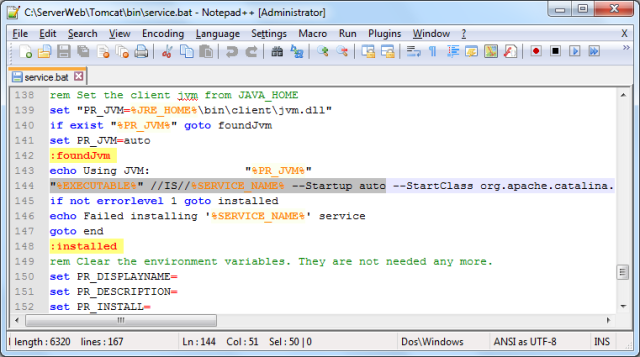
To start TOMCAT when Windows does, we make the following change:
"%EXECUTABLE%" //IS//%SERVICE_NAME% --Startup auto
You can also set the directory where all web applications will be deployed, for this demostration, I made a new folder named Webapps located inside of ServerWeb.
C:\ServerWeb\Webapps\
Inside of this folder, I made other folder named http, specifically a context that represents an application.
C:\ServerWeb\Webapps\http\
These changes in the file server.xml will be:
<Host name="localhost" appBase="C:/ServerWeb/Webapps"
unpackWARs="true" autoDeploy="true">
<Context path="" docBase="http"
reloadable="true" />
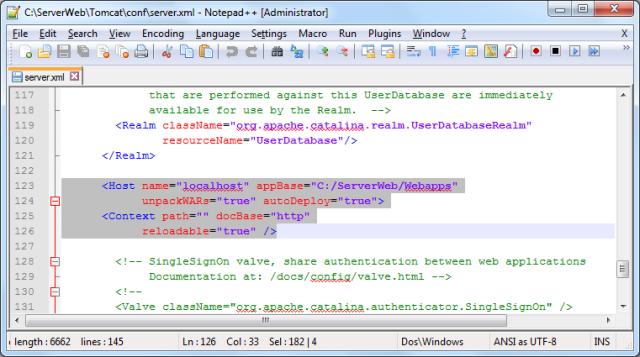
With this configuration is possible to deploy applications in other folder different to initially established by default configuration.
You may need to upload files, need to make changes to the file web.xml
Insert the multipart-config element to enable permanently for all applications file uploads, you can use the optional attributes max-file-size and max-request-size like here among others.
<multipart-config>
<max-file-size>3145728</max-file-size>
<max-request-size>5242880</max-request-size>
</multipart-config>
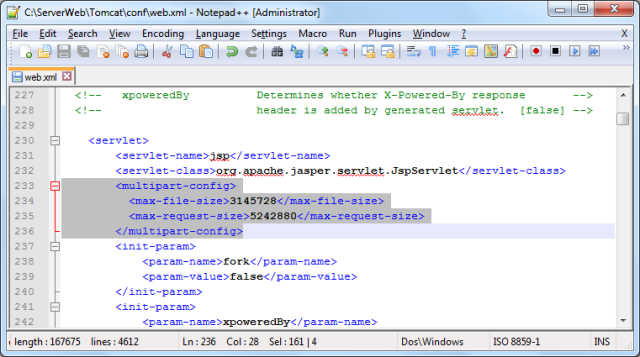
max-file-size The maximum size allowed for uploaded files, in bytes:
3145728 = 3 * 1024 * 1024
max-request-size The maximum size allowed for a multipart/form-data request, in bytes:
5242880 = 5 * 1024 * 1024
Changing the Compilers of Tomcat.
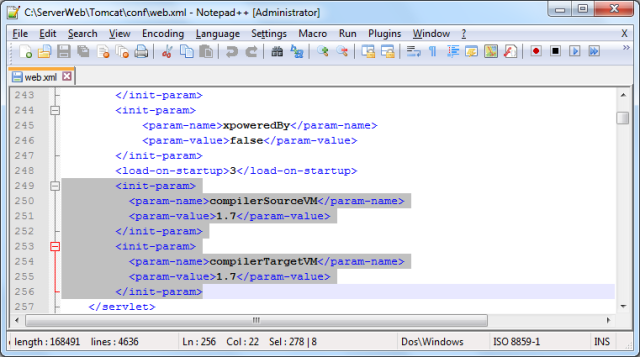
Some times is needed to change the Compilers of Tomcat, to do this we will need to change the web.xml file, according if you need change compilerSourceVM or compilerSourceVM:
<init-param>
<param-name>compilerSourceVM</param-name>
<param-value>1.7</param-value>
</init-param>
<init-param>
<param-name>compilerTargetVM</param-name>
<param-value>1.7</param-value>
</init-param>
We will need mod_jk module, when a page request comes in, if the request should be handled by Tomcat, Httpd the request to Tomcat via the connector (mod_jk module).
We need to download JK connector, currently is Tomcat Connectors 1.2.37 for Win32, hence the mod_jk.so file is extracted and copied into the Tomcat’s folder.
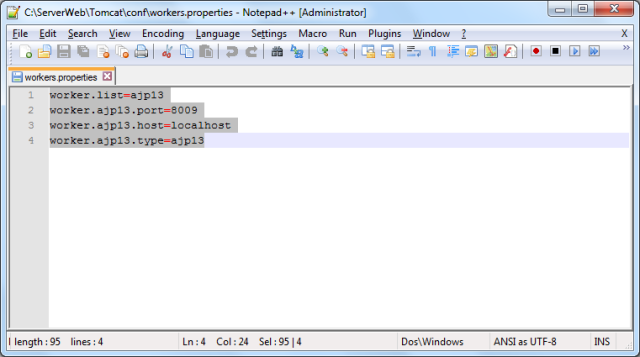
Within the conf folder create a file called workers.properties where is defined the Tomcat workers whose content is:
worker.list=ajp13
worker.ajp13.port=8009
worker.ajp13.host=localhost
worker.ajp13.type=ajp13
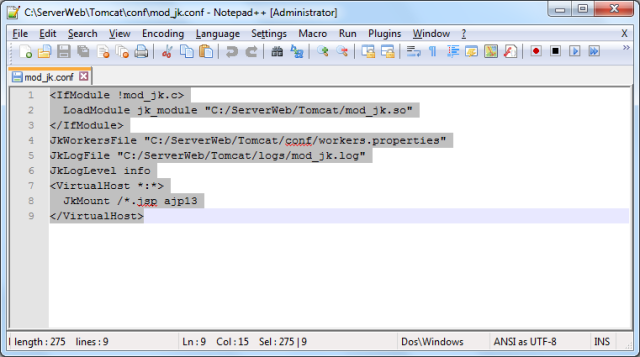
Inside the folder conf also create a file called mod_jk.conf with content:
<IfModule !mod_jk.c>
LoadModule jk_module "C:/ServerWeb/Tomcat/mod_jk.so"
</IfModule>
JkWorkersFile "C:/ServerWeb/Tomcat/conf/workers.properties"
JkLogFile "C:/ServerWeb/Tomcat/logs/mod_jk.log"
JkLogLevel info
<VirtualHost *:*>
JkMount /*.jsp ajp13
</VirtualHost>
To use MySQL with Tomcat is necessary to include the package allows, this package is called Connector/J. I downloaded called Connector/J 5.1.28 – Platform Independent and extracted the file named mysql-connector-java-5.1.22-bin.jar pasting it into the lib subdirectory of the Tomcat installation folder:
C:\ServerWeb\Tomcat\lib\
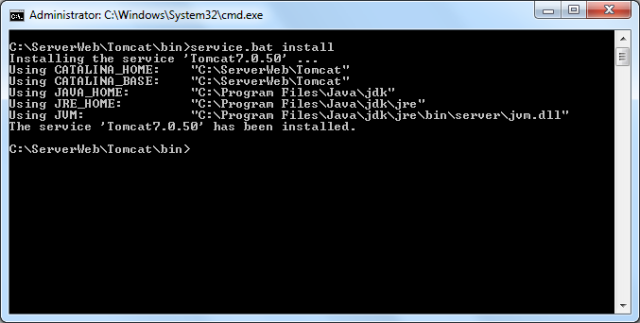
We can to make the installation:
service.bat install
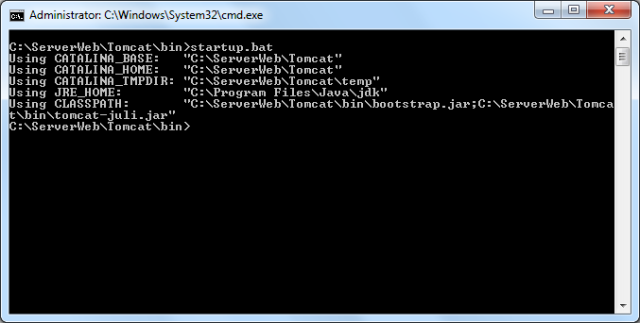
You can to start this service:
startup.bat
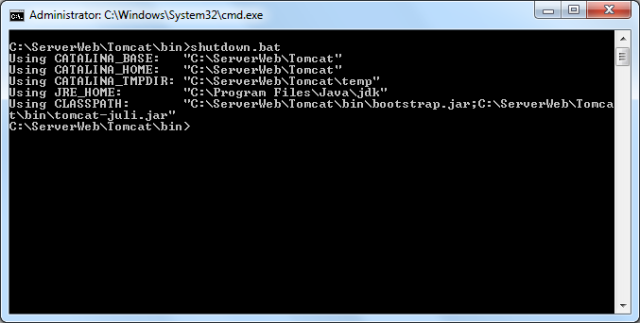
To stop this service:
shutdown.bat
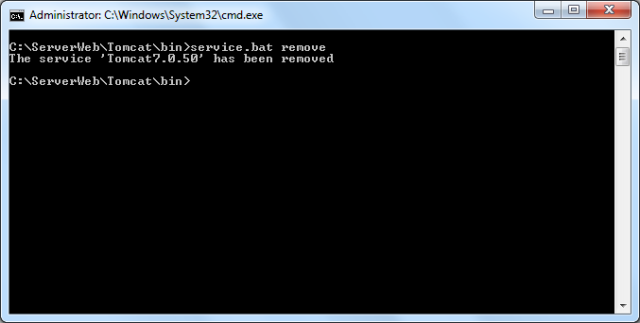
And remove it:
service.bat remove
Preparations for the Httpd installation.
I will use the Httpd 2.4.7 for Win32.
The contents of the .zip file was uncompressed in the folder:
C:\ServerWeb\Httpd_2.4.7\
But with symbolic link all operations of Httpd will be done under the folder:
C:\ServerWeb\Httpd\
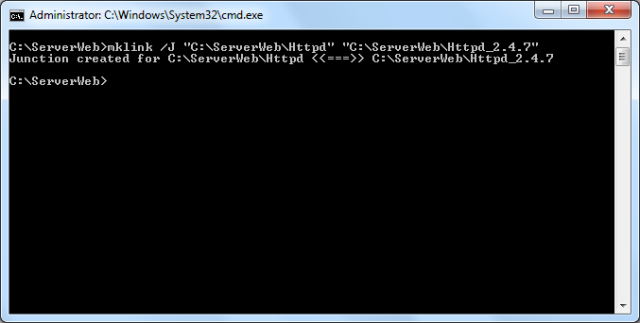
To create the symbolic link for Httpd, use the command:
mklink /J "C:\ServerWeb\Httpd" "C:\ServerWeb\Httpd_2.4.7"
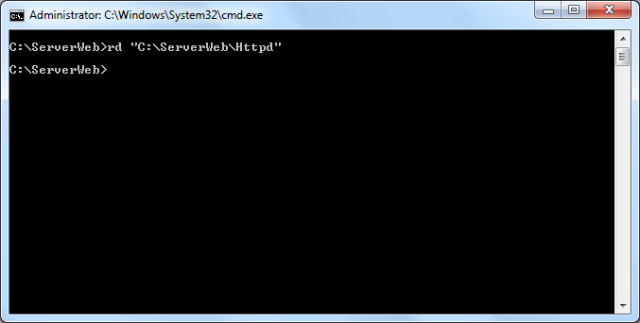
If you want to remove this link, you can use:
rd "C:\ServerWeb\Httpd"
Working with the HTTPD configuration file httpd.conf.
Inside of conf subdirectory of Httpd folder there is one file containing the configuration of httpd with the name httpd.conf, this file need to be edited according to our requirements.
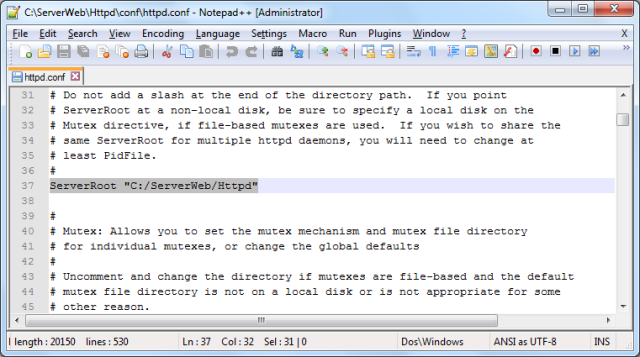
Edit the ServerRoot parameter updating the actual installation path.
ServerRoot "C:/ServerWeb/Httpd"
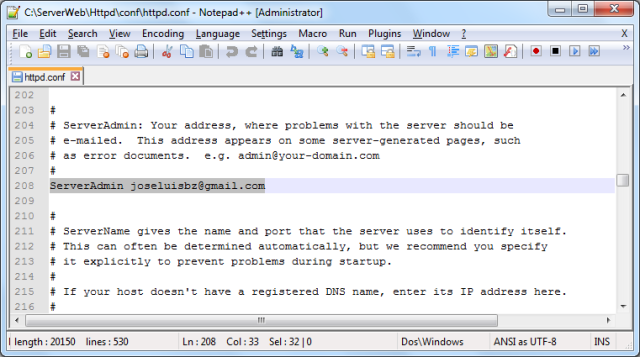
Edit the ServerAdmin parameter to the email address of the server administrator.
ServerAdmin joseluisbz@gmail.com
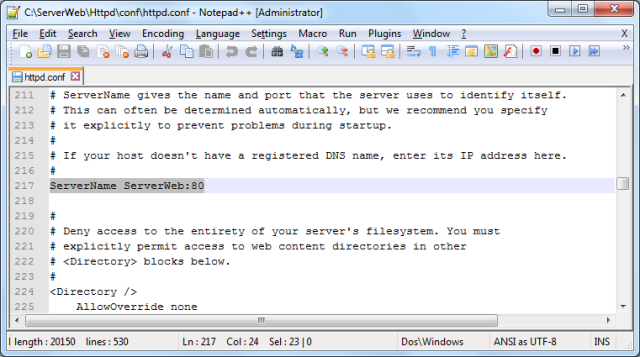
Change the ServerName parameter to the server name and port to use.
ServerName ServerWeb:80
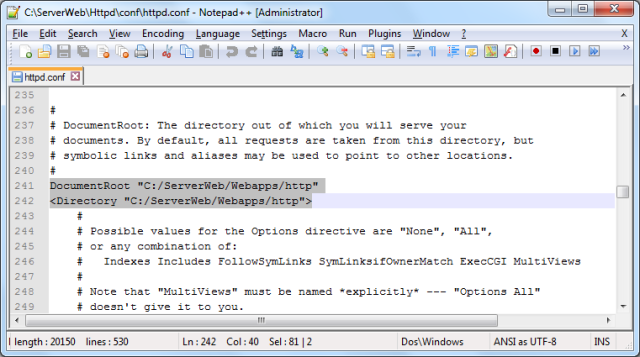
We edit the DocumentRoot (To set the directory from which httpd will serve files) and Directory (to define policies that only apply to the directory and subdirectories) parameters.
DocumentRoot "C:/ServerWeb/Webapps/http"
<Directory "C:/ServerWeb/Webapps/http">
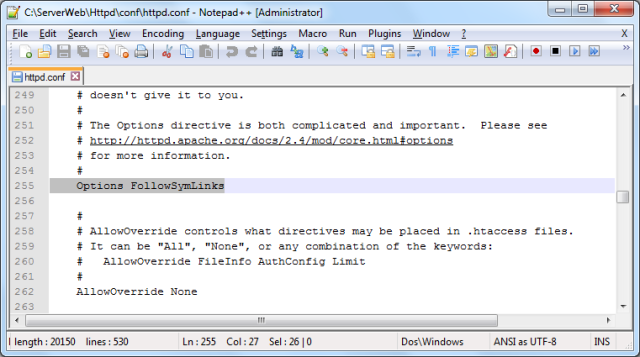
To avoid the directory listing when there isn’t index file, we delete the Indexes option.
Options FollowSymLinks
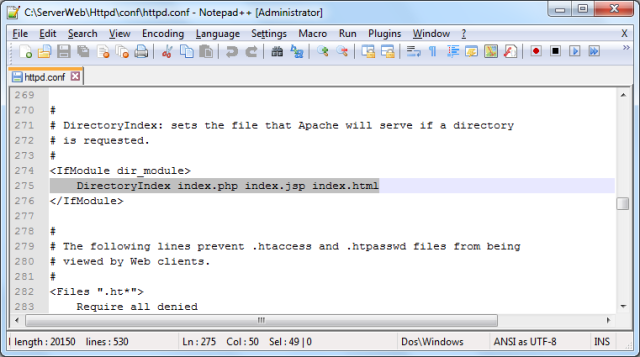
To establish the order of precedence of predefined file to be displayed, we modify the value of DirectoryIndex parameter.
DirectoryIndex index.php index.jsp index.html
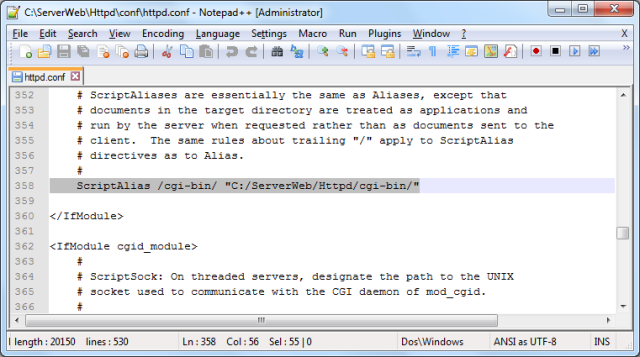
For future use of CGI establish the required parameters.
ScriptAlias /cgi-bin/ "C:/ServerWeb/Httpd/cgi-bin/"
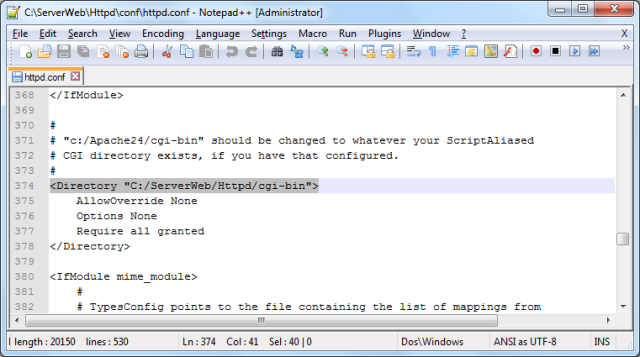
<Directory "C:/ServerWeb/Httpd/cgi-bin">
As you can see, here are the proposed changes have been completed.
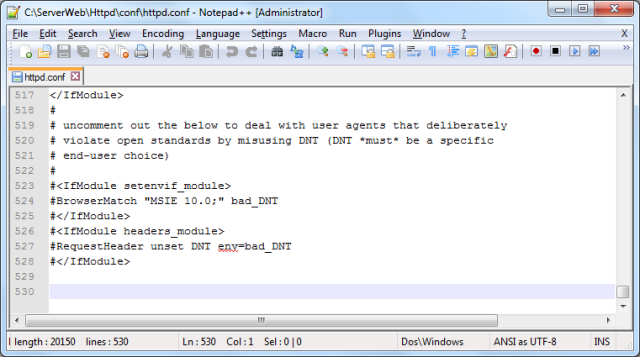
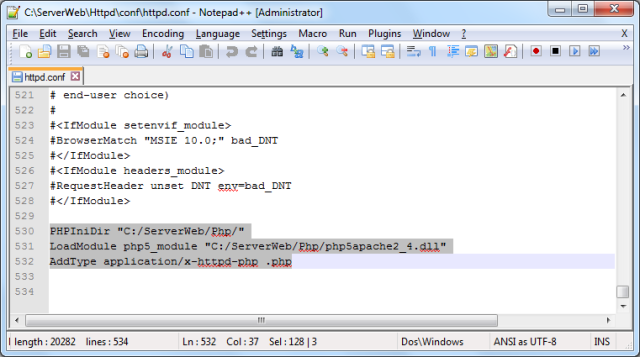
Including handling PHP to Httpd.
PHPIniDir indicates the folder where php.ini is located.
LoadModule php5_module loads the module that allow to Httpd handle Php files.
AddType indicates the extension to be identified or related with Php.
PHPIniDir "C:/ServerWeb/Php/"
LoadModule php5_module "C:/ServerWeb/Php/php5apache2_4.dll"
AddType application/x-httpd-php .php
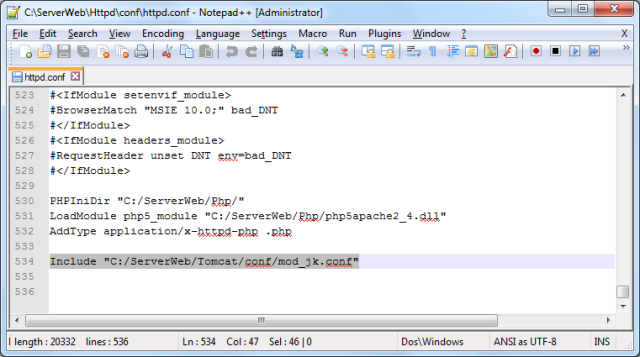
Including the Tomcat Connector to Httpd.
Include indicates where is located the configuration of Tomcat Connector.
Include "C:/ServerWeb/Tomcat/conf/mod_jk.conf"
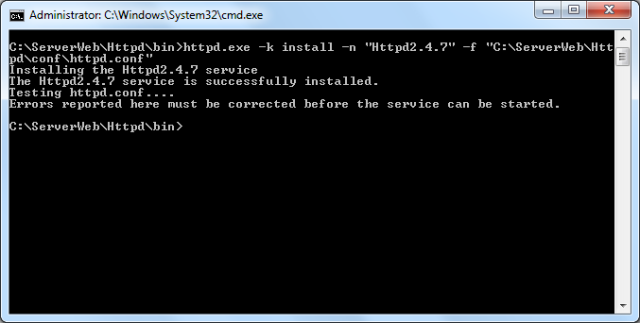
We can to make the installation:
httpd.exe -k install -n "Httpd2.4.7" -f "C:\ServerWeb\Httpd\conf\httpd.conf"
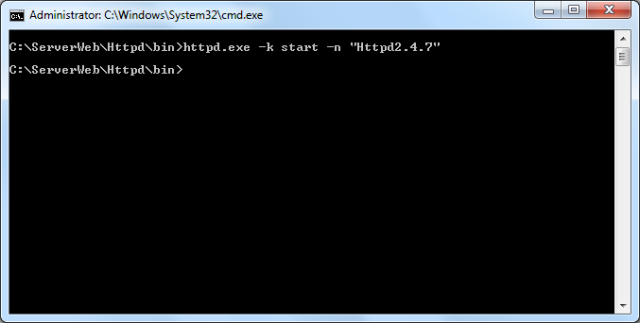
You can to start this service:
httpd.exe -k start -n "Httpd2.4.7"
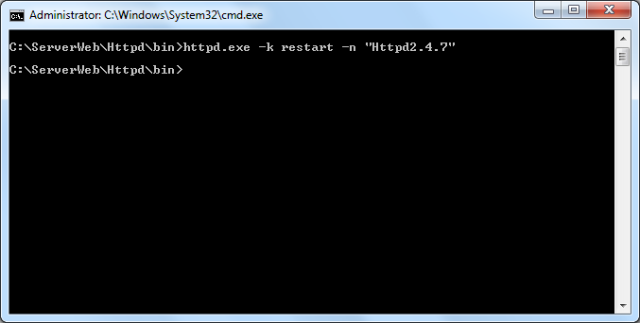
You can to restart this service:
httpd.exe -k restart -n "Httpd2.4.7"
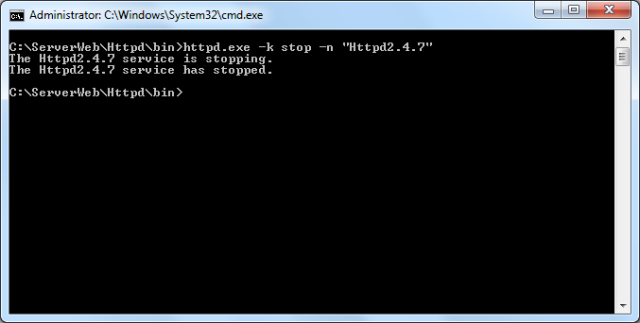
To stop this service:
httpd.exe -k stop -n "Httpd2.4.7"
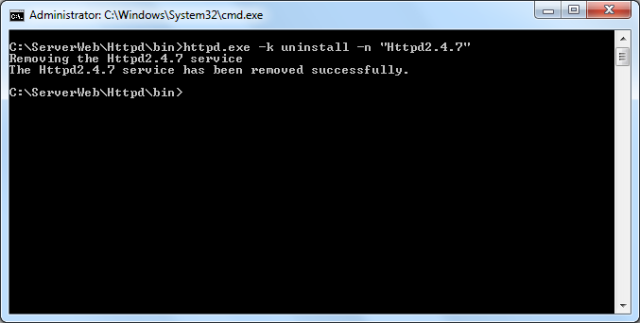
And uninstall it:
httpd.exe -k uninstall -n "Httpd2.4.7"
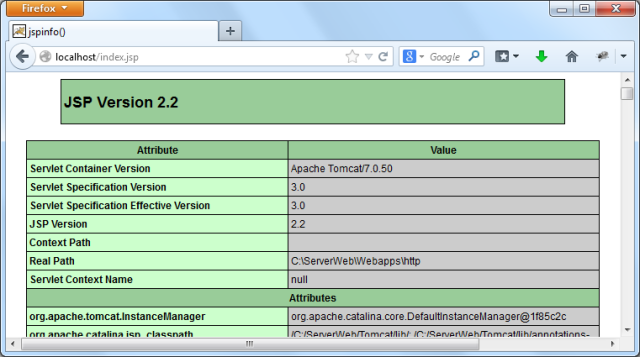
Testing the Httpd (Php, Jsp) Installation.
Once you have followed the steps can test your installation.
I’m native Spanish speaker, please tell me English Language corrections.

