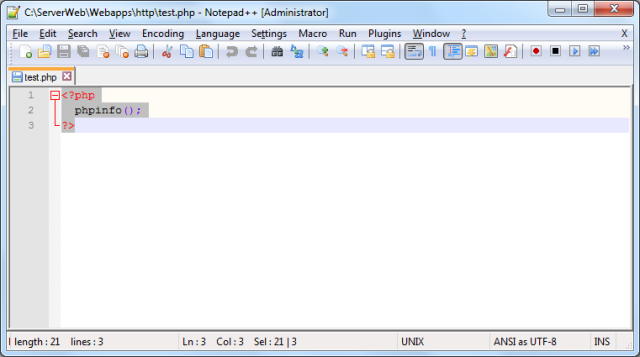
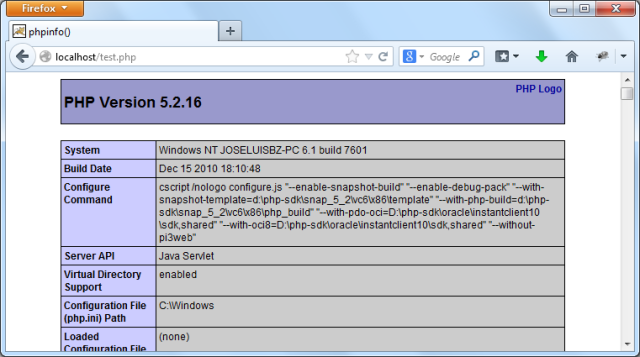
Maybe this post is rare for someone, but I will try to explain how to install PHP working with Tomcat.
This tutorial was tested using Windows 7 of 32 bits.
PHP can works with the library named PECL, the last library that help us to reach the goal is the version 5.2.5.
The PECL 5.2.5 library contains .dll and .jar files that allow us to configure some (not all) PHP version with Tomcat.
All instalation will be made in the folder:
C:\ServerWeb\
PHP
The last version of PHP that works with that PECL version was the 5.2.16. Then I will use the PHP 5.2.16 for Win32.
The contents of the .zip file was uncompressed in the folder:
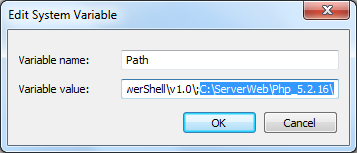
C:\ServerWeb\Php_5.2.16\
Inside of this folder there are two files containing templates of configuration of php:
php.ini-dist (for developing) and php.ini-recommended (for production), the difference consist into if the errors will be shown, while the version for developing shows the errors and other information, the version for production does not.
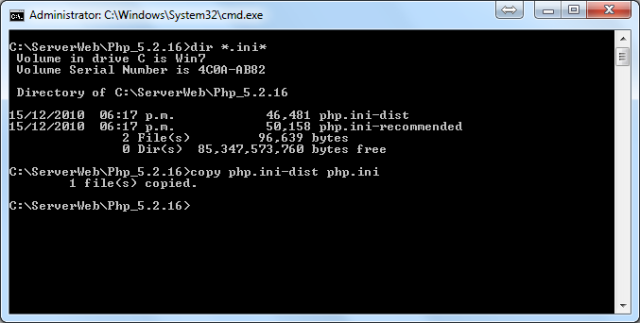
As I’m testing I took php.ini-dist and copied:
copy php.ini-dist php.ini
Now lets go to declare to system the path of the PHP.
Now, Is needed to access to variables system, with this manner or according to your preference:
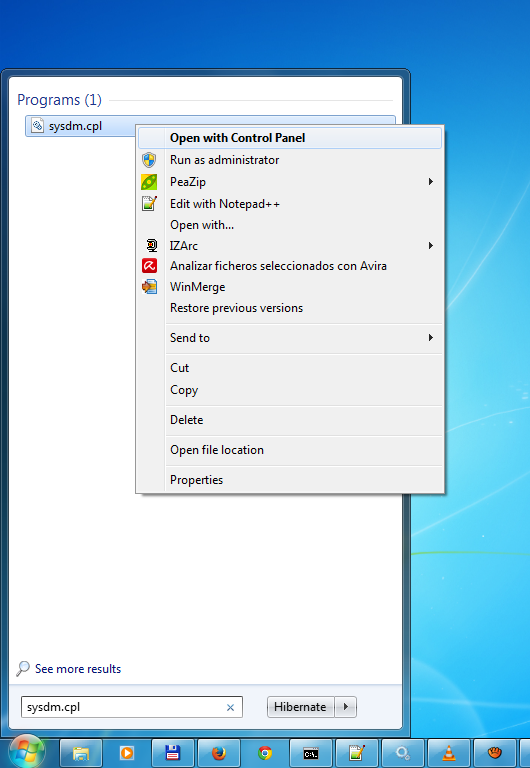
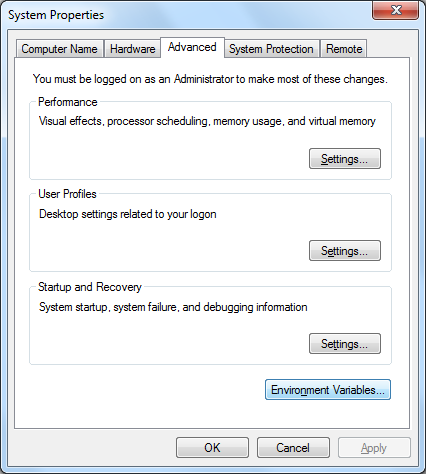
Later, the System Properties dialog box is shown.
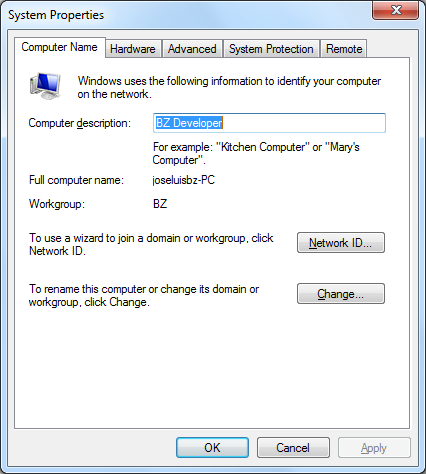
Now, We select Advanced tab and press the Environment Variables button.
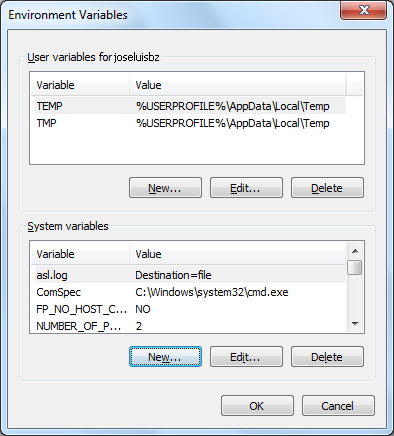
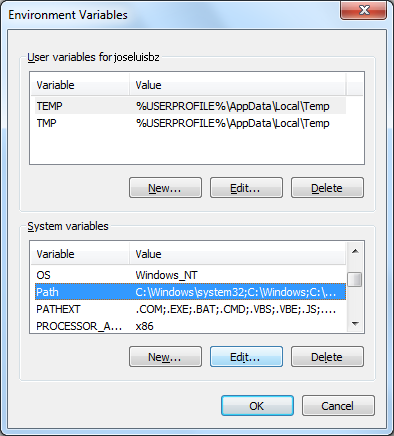
Here we select the PATH variable and press the Edit button.
Finally modify the variable value adding at the end the path of PHP and press the OK button.
Tomcat
The version of Tomcat tested that worked well was the 7.0.41, because 7.0.42 version had problems with starting and stopping in Windows. Then this post will work with Tomcat 7.0.41 for Win32.
The contents of the .zip file was uncompressed in the folder:
C:\ServerWeb\Tomcat_7.0.41\
Indicating to Tomcat the path of Java, using Environment Variables
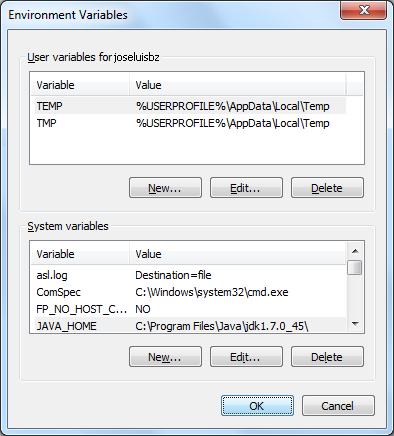
In order to do this, we need to create a new variable with name JAVA_HOME, this variable is checked by Tomcat.
Similarly to declare to path of PHP, but we need to access to Environment Variables, pressing the New button.
In the New System Variable dialog box, we write the name of the variable with JAVA_HOME and the variable value with the path of Java, in my case
C:\Program Files\Java\jdk1.7.0_45\
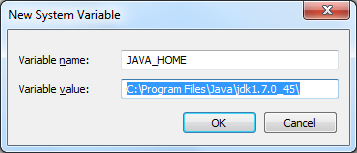
As you can see the new variable was added.
Now we will make some changes optional on some files in the subdirectory named bin inside the folder of Tomcat.
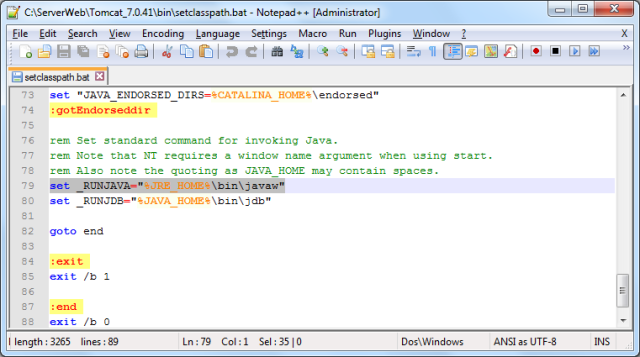
To start Tomcat silently (without console window popup), change in the file named setclasspath.bat, the line set _RUNJAVA
set _RUNJAVA="%JRE_HOME%\bin\javaw"
Now, lets go to mak changes in the file service.bat in the subdirectory named bin.
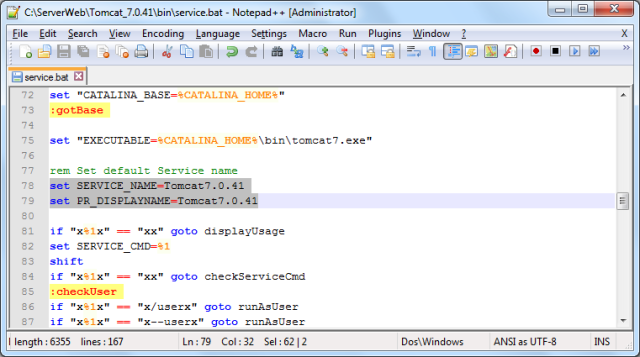
To change the service name and name to be displayed (this not alters of functionality of Tomcat’s service), we make this:
set SERVICE_NAME=Tomcat7.0.41
set PR_DISPLAYNAME=Tomcat7.0.41
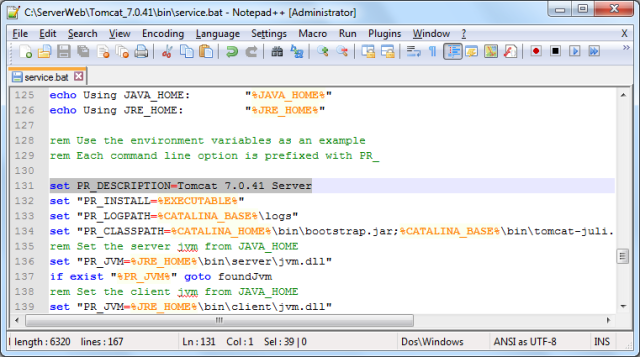
Later let’s go to modify the description of this service:
set PR_DESCRIPTION=Tomcat 7.0.41 Server
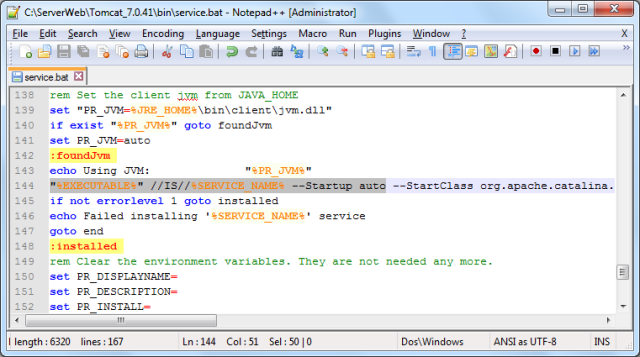
To start Tomcat when Windows does, we make the following change:
"%EXECUTABLE%" //IS//%SERVICE_NAME% --Startup auto
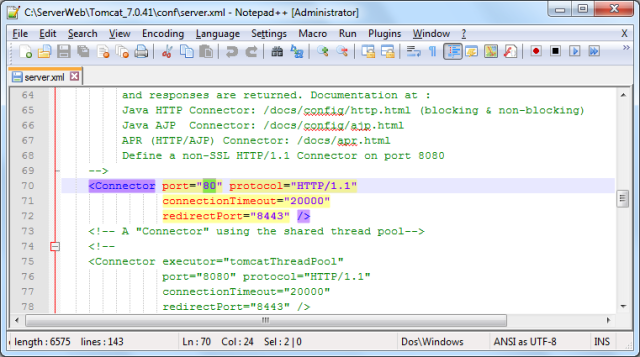
We can modify our web server port, which is initially set to 8080, change it to 80, in this case we need to make changes in the file server.xml in the subdirectory named conf inside the folder of Tomcat.
You can also set the directory where all web applications will be deployed, for this demostration, I made a new folder named Webapps located inside of ServerWeb.
C:\ServerWeb\Webapps\
Inside of this folder, I made other folder named http, specifically a context that represents an application.
C:\ServerWeb\Webapps\http\
These changes in the file server.xml will be:
<Host name="localhost" appBase="C:/ServerWeb/Webapps"
unpackWARs="true" autoDeploy="true">
<Context path="" docBase="http"
reloadable="true" />
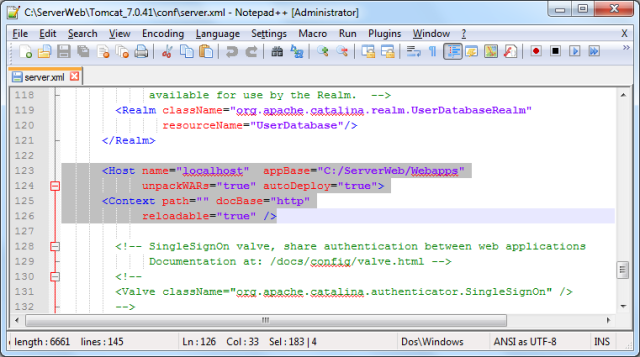
With this configuration is possible to deploy applications in other folder different to initially established by default configuration.
We can to make the installation:
service.bat install
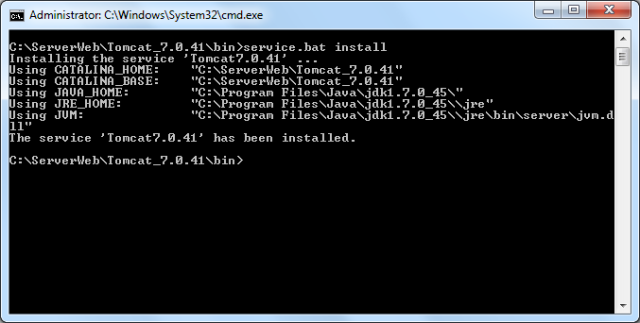
This service can be verified in Windows.
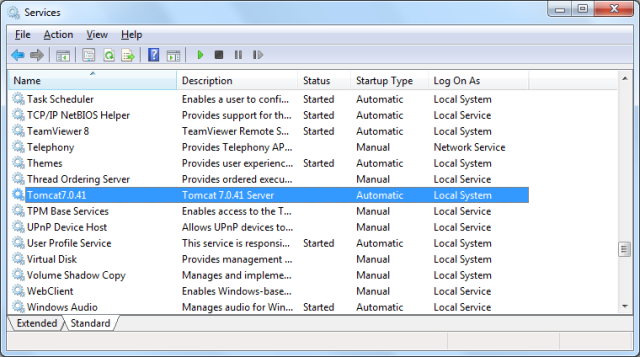
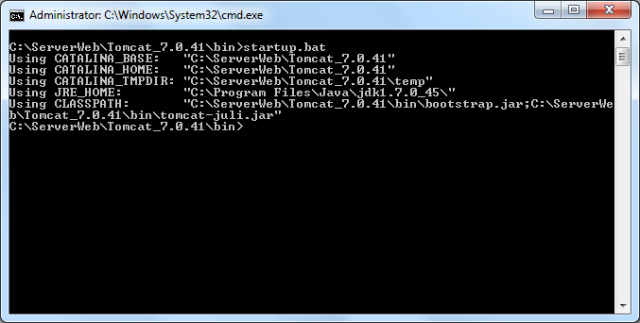
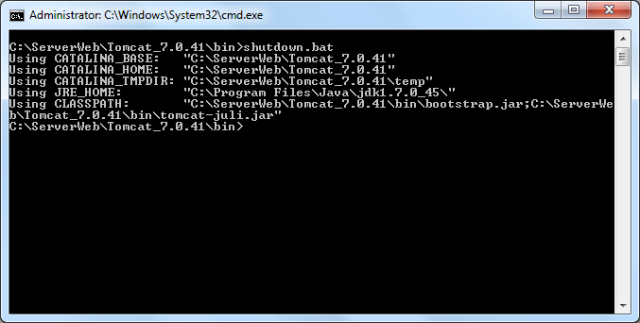
You can to start this service:
startup.bat
shutdown.bat
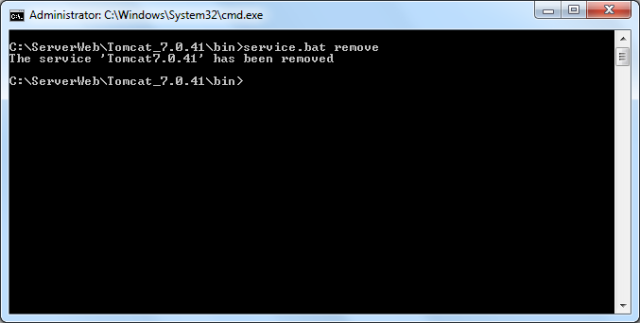
service.bat remove
Integrating Tomcat with PHP
This changes are in order to use PHP with Tomcat.
Download the PHP Extension Community Library version 5.2.5 for Win32.
For this example, I will unpack the contents to (although this is not necessary):
C:\ServerWeb\Pecl_5.2.5\
Copy the file php5servlet.dll from the pecl-5.2.5-Win32.zip to the folder C:\ServerWeb\Php_5.2.16\
Copy the file php_java.dll from the pecl-5.2.5-Win32.zip to the folder C:\ServerWeb\Php_5.2.16\ext\
In order to make use of php_java.dll we need to make changes in the configuration file of PHP, php.ini, adding a new line like is shown below.
extension=php_java.dll
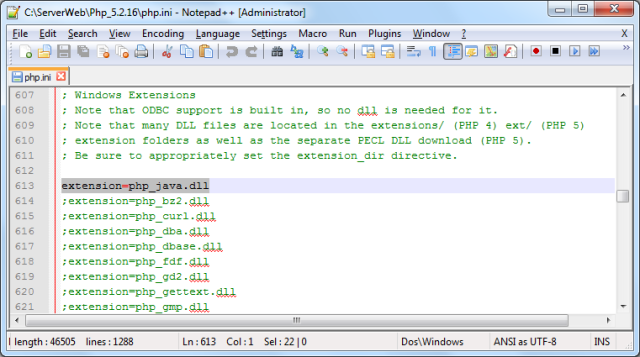
So far everything is ready as far as PHP is concerned.
Copy the file php_java.jar from the pecl-5.2.5-Win32.zip to the folder C:\ServerWeb\Tomcat_7.0.41\lib\
Now, we need to make changes in the file named phpsrvlt.jar and create a new file named php5srvlt.jar
First, we need to uncompress the file with (in my case):
"C:\Program Files\Java\jdk1.7.0_45\bin\jar.exe" xfv phpsrvlt.jar
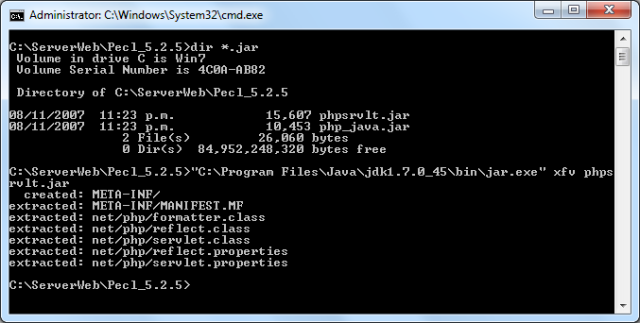
Second, as can be seen, two folders are decompressed one call net, inside which there is another folder named php. In this folder php there are multifle files, including one called reflect.properties and another called servlet.properties. The contents of both files must be:
library=php5servlet
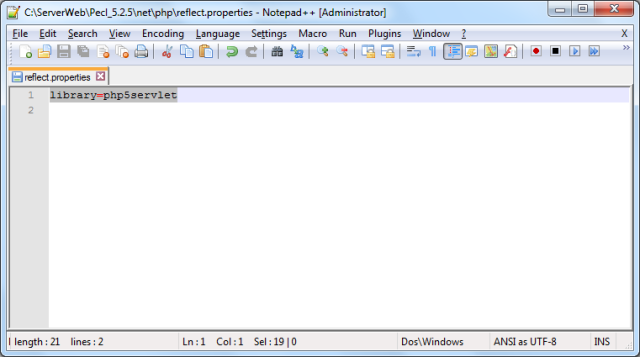
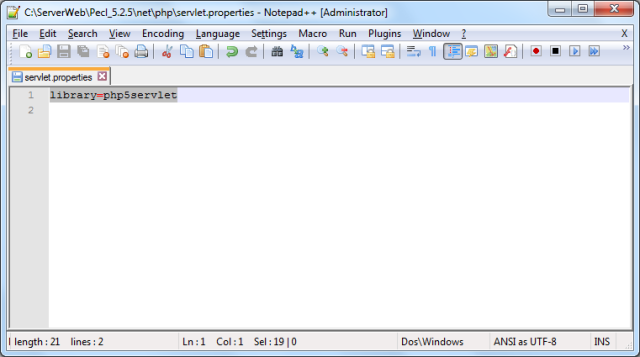
As you can see, without spaces.
Third, let’s go to create the needed file:
"C:\Program Files\Java\jdk1.7.0_45\bin\jar.exe" cvf php5srvlt.jar net/php/
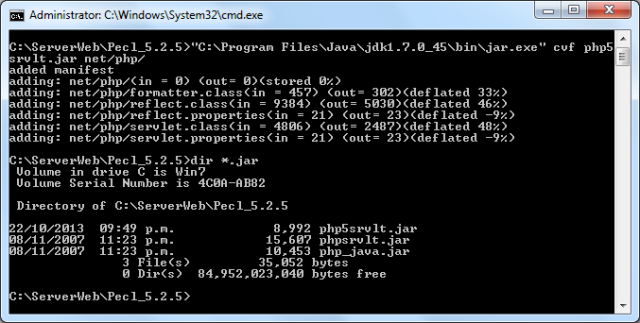
Fourth, include the php5srvlt.jar file to be used by applications in Tomcat, copying this file into subdirectory lib of Tomcat Directory C:\ServerWeb\Tomcat_7.0.41\lib\ in this case will be available for all applications of Tomcat.
Now, We need to modify the file web.xml (Deployment Descriptor) in the subdirectory named conf inside of Tomcat installation folder.
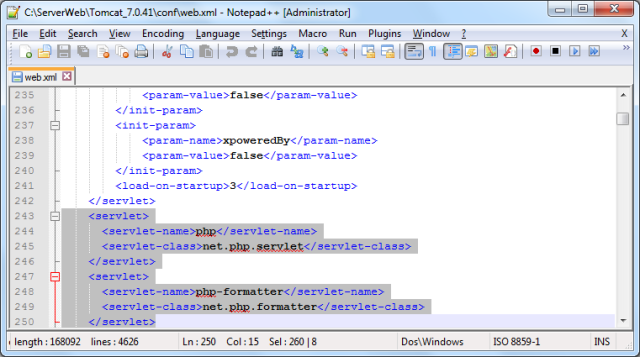
First change: declaring the name of servlet and its classes.
<servlet>
<servlet-name>php</servlet-name>
<servlet-class>net.php.servlet</servlet-class>
</servlet>
<servlet>
<servlet-name>php-formatter</servlet-name>
<servlet-class>net.php.formatter</servlet-class>
</servlet>
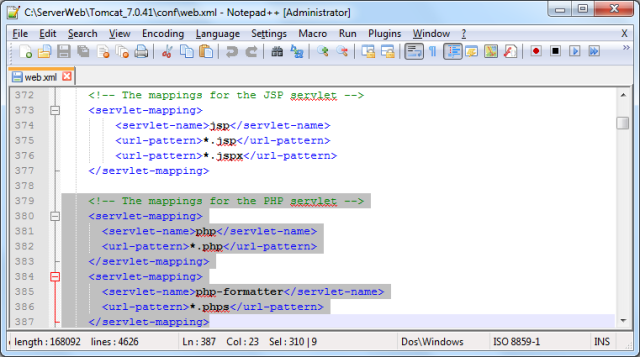
Second change: including the mapping of the servlets and classes declared before.
<!-- The mappings for the PHP servlet -->
<servlet-mapping>
<servlet-name>php</servlet-name>
<url-pattern>*.php</url-pattern>
</servlet-mapping>
<servlet-mapping>
<servlet-name>php-formatter</servlet-name>
<url-pattern>*.phps</url-pattern>
</servlet-mapping>
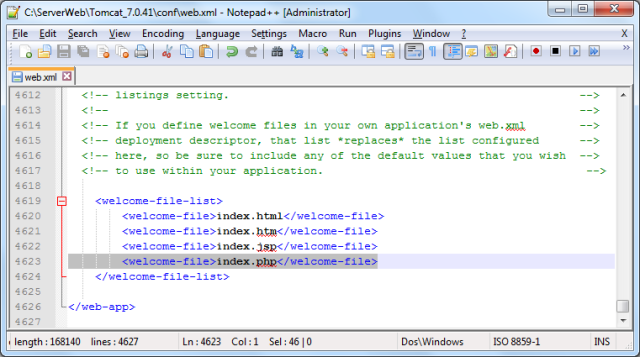
Third change: including and establishing the files and its order in which the default servlet looks for the "welcome file".
<welcome-file>index.php</welcome-file>
Last we will test the integration, creating a file named test.php inside of
C:\ServerWeb\Webapps\http\, the content is:
<?
phpinfo();
?>

